If you have never run an email marketing campaign before, it can feel a bit intimidating. Lists, segments, subject lines, templates, automations, click rates… there is a lot of jargon and a lot of moving parts.
The good news is you do not need to be a marketing pro to launch a solid first campaign. With the right steps, a simple tool, and a clear goal, you can send your first email campaign that actually feels professional and gets real results.
In this guide, you will walk through everything from picking your email tool to pressing send, using simple language and practical examples.
What Is An Email Marketing Campaign?
An email marketing campaign is a planned series of emails sent to a group of people to achieve a specific goal. That goal could be:
- Getting more sales
- Promoting a webinar or event
- Nurturing new leads
- Welcoming new subscribers
- Driving traffic to your latest content
Unlike random one-off emails, a campaign is intentional. You decide who you are sending to, what you want them to do, and what type of messages will move them there step by step.
Step 1: Set One Clear Goal
Before you touch any software, decide what you want your first campaign to do. A vague goal like “grow my business” is not helpful. Make it specific.
Examples of clear goals:
- Get 50 people to sign up for a free webinar
- Make 20 sales of a new digital product
- Get 100 people to download a free guide
- Re-engage inactive customers and get at least 10 replies
When you know the goal, everything else becomes easier:
- Your subject lines can hint at the benefit
- Your email content can drive toward one main action
- Your metrics can measure success clearly
Ask yourself: If this campaign is successful, what will actually happen? That answer is your goal.
Step 2: Choose The Right Email Tool
Next you need an email service provider. This is the platform you will use to store contacts, design emails, send campaigns, and track results. Do not try to run a real campaign from your personal Gmail or Outlook. It will hurt deliverability and look unprofessional. Here are three beginner‑friendly platforms to consider:
1. Mailchimp

Mailchimp is one of the most popular tools for first‑time email marketers. It offers:
- A free plan for small lists
- Drag‑and‑drop email builder
- Basic automation (like welcome emails)
- Simple analytics
It is a good choice if you want something familiar, visual, and easy to pick up without a steep learning curve.
2. GetResponse
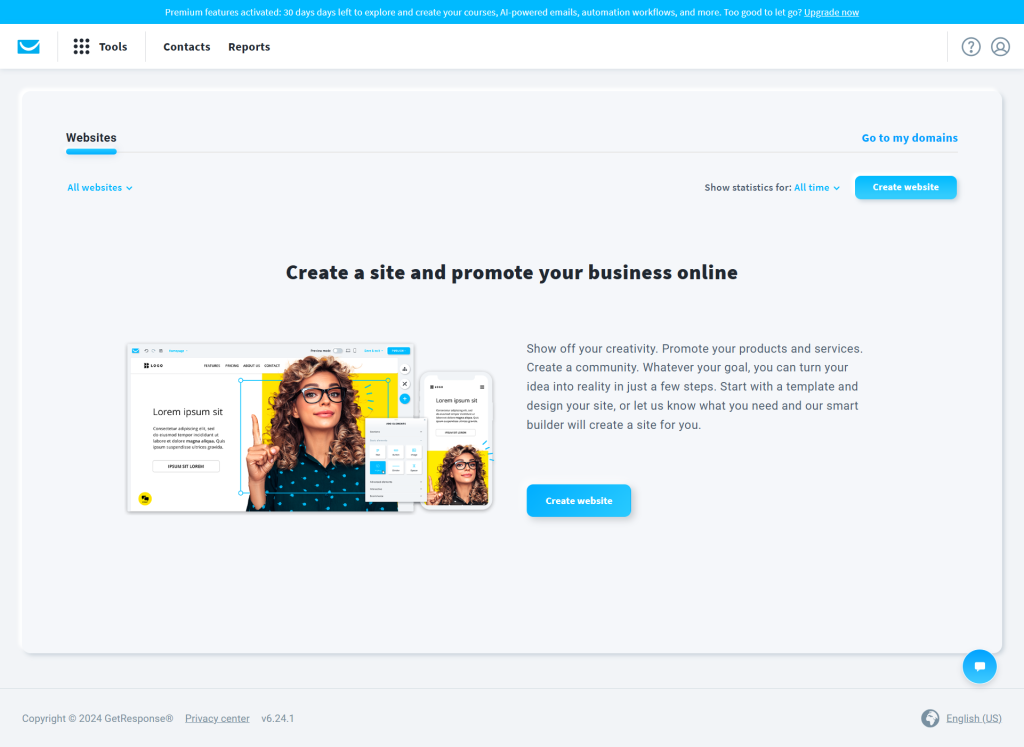
GetResponse is great if you want to combine email with simple funnels and automation. It offers:
- Email campaigns and newsletters
- Landing pages and simple funnels
- Webinars on some plans
- Advanced automation features
It fits well if you plan to grow into more complex campaigns over time, like multi‑step nurture sequences.
3. MailerLite
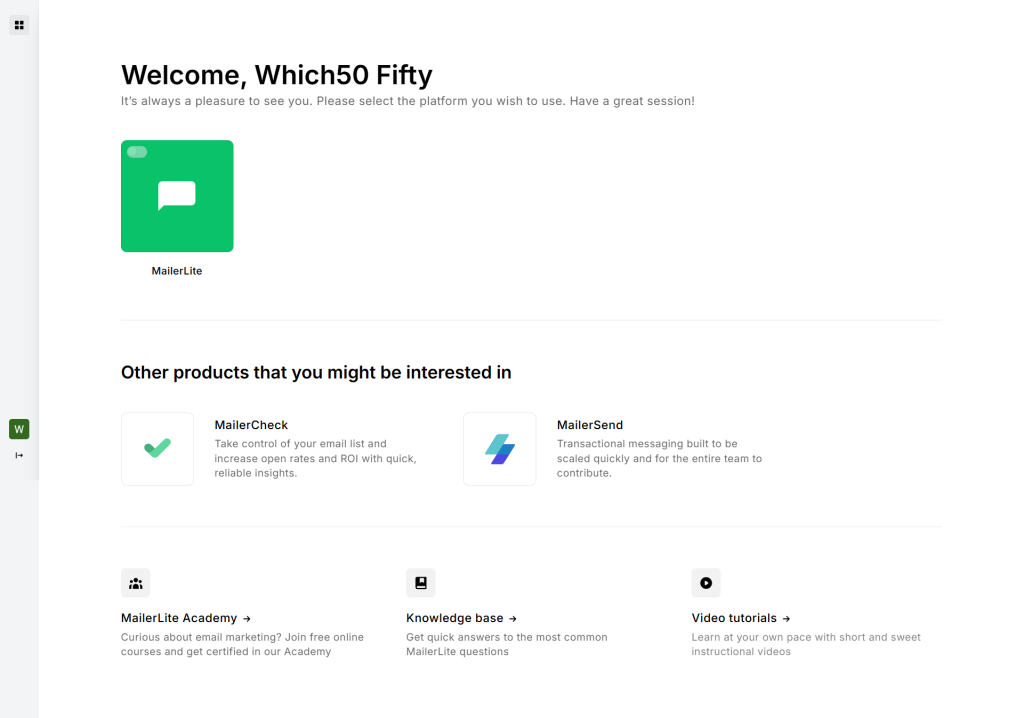
MailerLite focuses on clean design and simplicity. You get:
- A very straightforward email editor
- Modern templates
- Automation workflows
- Landing pages and forms
If you like minimal, clutter‑free interfaces and want to get moving fast, MailerLite is a strong option.
For your first campaign, pick one platform and stick with it. You can always migrate later. The important thing is to get comfortable enough to create lists, design basic emails, and send a campaign.
Step 3: Build And Organize Your Email List
An email campaign is only as good as the list behind it. Your list should be permission‑based, which means people have clearly agreed to receive emails from you.
Here is how to start building and organizing your list.
How To Collect Subscribers?
Some simple list‑building methods:
- Website opt‑in form
Add a signup box to your homepage, blog sidebar, or footer. - Lead magnet
Offer a free resource like a checklist, mini ebook, or template in exchange for an email. - Content upgrade
Add a “download the PDF version” or “get the bonus” opt‑in to popular posts. - Checkout or contact forms
Add an email consent checkbox to your forms. - Social media
Share your signup page on your social profiles or in your bio.
Always be clear about what people are signing up for. Example: “Join my weekly newsletter for simple marketing tips.”
Segmenting Your List (Even A Little)
For your first campaign, you do not need complex segmentation. But a small bit of organization helps a lot.
Basic segments you can start with:
- New subscribers
- Customers vs non‑customers
- People who opted in for a specific lead magnet
- Geographic region (if relevant)
Even just separating “new subscribers” from “everyone else” is useful. New people should often get a welcome sequence before your main campaigns.
Step 4: Plan Your Campaign Structure
Now that you have a tool and a list, plan what your campaign will look like.
Decide:
- How many emails you will send
- Over what time period
- What each email will focus on
- What call to action each email will push
For your first campaign, keep it simple. A short 3‑email campaign works well for many goals.
Example structure for promoting a new product:
- Email 1: Problem + teaser solution
Talk about a common struggle. Introduce your product as the solution and hint at what is coming. - Email 2: Explain the solution
Show how your product works, share benefits, and include a soft call to action. - Email 3: Strong offer
Add urgency (limited time bonus or discount), share social proof, and include a clear call to action to buy.
If your goal is nurturing, you might create a short value‑based series instead that focuses on tips and trust, then introduces your offer at the end.
Step 5: Write Your Email Content
Now it is time to write the actual emails. Do not overcomplicate this. You are talking to real people, not robots. Use clear, direct language and imagine you are writing to one person you know.
Writing Strong Subject Lines
Your subject line is what gets your email opened. Aim for curiosity plus clarity.
Some simple subject line formulas:
- “How to [achieve result] without [pain]”
- “The biggest mistake with [topic]”
- “You asked for this…”
- “Quick tip: [benefit in 3 words]”
Avoid clickbait. You want alignment between the subject and the content inside.
Structuring The Email Body
A basic, easy structure for your emails:
- Hook: Grab attention with a question, strong statement, or relatable scenario.
- Story or context: Briefly explain the problem or situation.
- Value or insight: Share tips, ideas, or a helpful explanation.
- Offer or action: Tell them what you want them to do next.
- Simple sign‑off: Keep your sign‑off friendly and consistent.
For example, if you are promoting a webinar:
- Hook: “Ever feel like your ads eat your budget and give you nothing back?”
- Story: Short story about how you struggled with this before.
- Value: Mention one simple shift that changed things.
- Offer: Invite them to join the webinar where you show the full process.
- CTA: “Save your spot here” with a clear button.
Tone And Style Tips
- Write like you talk
- Use short paragraphs
- Use bullets where it helps clarity
- Avoid jargon unless your audience expects it
- Focus on one main idea per email
If you are not sure if your email sounds robotic, read it out loud. If it sounds weird, simplify it.
Step 6: Design And Set Up Your Campaign
Once your content is written, you are ready to move inside your email platform and set things up.
Most tools like Mailchimp, GetResponse, and MailerLite follow a similar flow:
- Create a new campaign
Choose “regular email” or “newsletter” for a simple one‑off send, or “automation” if you are building a sequence. - Choose your audience or segment
Select the list or segment you planned earlier. - Add your subject line and preview text
The preview text is that small line next to the subject line in inboxes. Use it to support the subject. - Pick a template
For your first campaign, start with a simple template. Clean layout, one main column, and a clear button is enough. - Add your content
Paste in your copy, format with headings and bold text, and drop in images if they add value. - Add your call‑to‑action button
Make it clear and specific:- “Download the guide”
- “Save your seat”
- “Get the discount”
- Check compliance details
Make sure your footer includes your business address and an unsubscribe link. This is required for email regulations.
Step 7: Test Before You Send
Never send your first campaign (or any campaign) without testing it.
Do a quick checklist:
- Send a test email to yourself (and maybe a colleague)
- Check how it looks on mobile and desktop
- Click every link and button to make sure they work
- Check for typos and broken formatting
- Make sure your “from name” is friendly and recognizable
You can also run simple A/B tests later, such as trying two subject lines and seeing which one gets higher opens. For your first campaign, though, a basic test send is enough.
Step 8: Schedule Or Send Your Campaign
Now you have two options:
- Send now
- Schedule for later
If your audience is mostly in one time zone, pick a time when they are likely to check email, such as:
- Morning between 9 am and 11 am
- Early afternoon between 1 pm and 3 pm
As your list grows, you can experiment with different days and times. Tools often show you average engagement by day and time, which helps you refine this.
When you are happy with everything, hit send or schedule. Yes, it is a bit nerve‑racking the first time. That is normal.
Step 9: Track Results And Learn
After your campaign goes out, the real learning begins. Your email platform will show you metrics like:
- Open rate
Percentage of people who opened your email. - Click‑through rate (CTR)
Percentage of people who clicked a link. - Unsubscribes
How many people opted out. - Conversions
If you connected your campaign to a form, checkout, or page with tracking, you can see how many people completed your goal.
For a first campaign, do not obsess over “perfect” numbers. Instead, ask:
- Did I send this to the right people?
- Did the subject line match the content?
- Was the call to action clear and visible?
- Did people click? If not, why?
Use those answers to make your next campaign better. Email marketing is more about consistent improvement than about getting everything perfect on day one. Don’t forget to check this video for better understanding on Email marketing for beginners.
Wrap Up
Creating your first email marketing campaign can feel like a big step, but you have already broken it down into simple pieces:
- You picked one clear goal
- You chose a beginner‑friendly tool
- You built or organized a basic list
- You planned a simple campaign structure
- You wrote real, human emails
- You designed, tested, and sent your campaign
- You checked the results to learn what worked
That is exactly how experienced marketers started too.
Do not wait for the “perfect” list size, the perfect template, or the perfect idea. Start with what you have, send something helpful and clear, and treat your first campaign as practice. Your next one will be better, and the one after that better still.
Email marketing rewards those who show up consistently and keep improving. You have already taken the hardest step by deciding to start.

Leave a Comment