
Have you ever recorded something important, only to hear a fan humming, traffic outside, or random static in the background?
It is frustrating. You finish recording a podcast episode, an online class, or even a client presentation. You press play. And instead of clear audio, you hear background noise stealing attention from your voice.
The good news is this. You can remove background noise from audio files without being a sound engineer. You just need the right approach and the right tools.
Let’s break it down step by step.
Why Background Noise Happens in Audio Recordings
Before we fix the problem, it helps to understand why it happens.
Background noise usually comes from:
- Ceiling fans or AC units
- Traffic or street sounds
- Keyboard typing
- Electrical static
- Room echo
- Low-quality microphones
Even if you record in a quiet room, microphones pick up more than your ears notice. According to guidance shared by the Audio Engineering Society, microphones are sensitive to a wide frequency range, which makes them capture subtle environmental sounds as well.
That is why cleaning audio is often part of the editing process.
Now let’s talk about how to actually remove background noise from audio files.
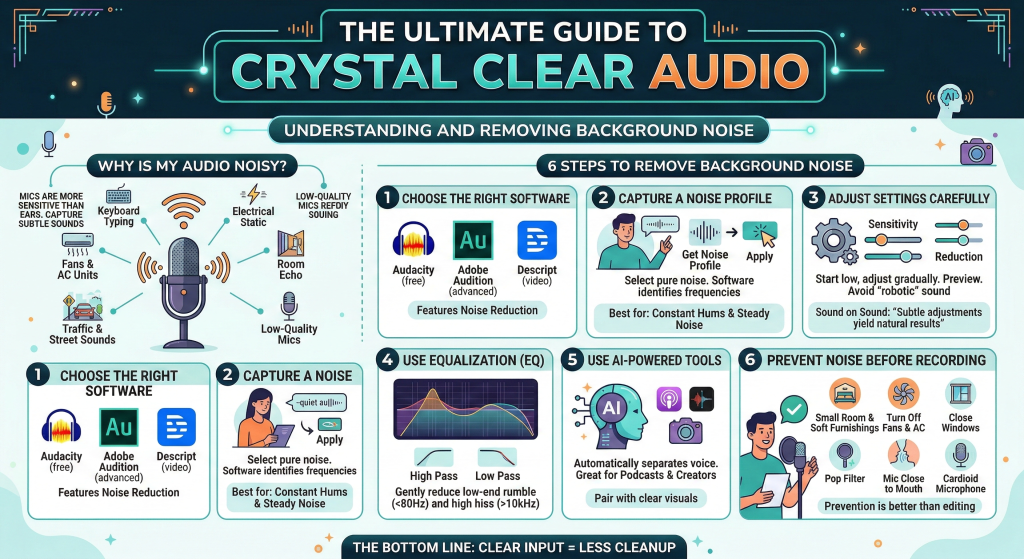
Step 1: Choose the Right Audio Editing Software
The first step is choosing software that has noise reduction features.
If you are looking for a free and reliable option, Audacity is a great place to start. It is open source and widely used for basic noise reduction. You can check their official documentation on the Audacity website to understand how noise profiles work.

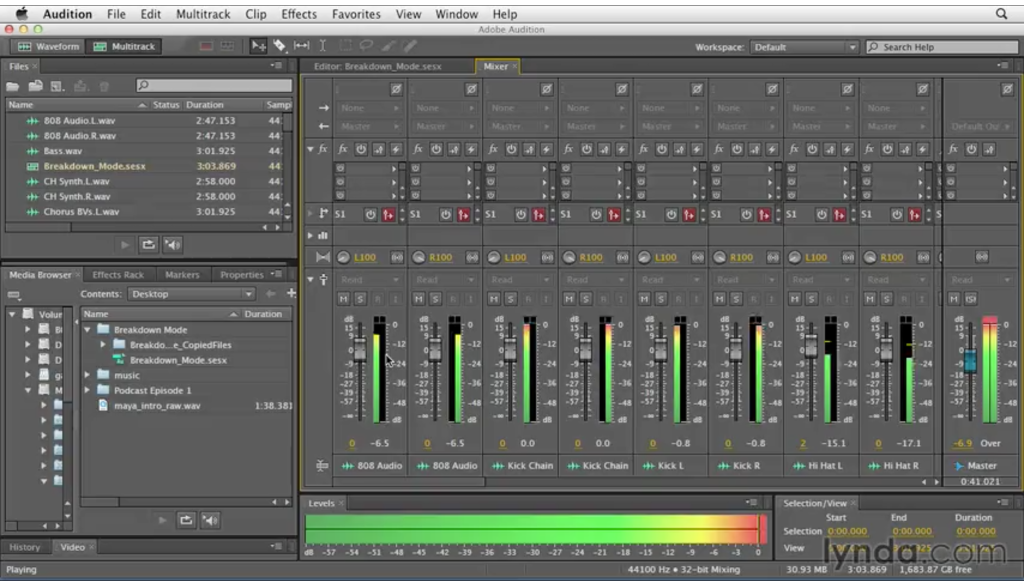
For more advanced editing, many creators use tools like Adobe Audition, which includes built-in noise reduction, adaptive noise removal, and spectral frequency display. It gives you more control over problem frequencies.
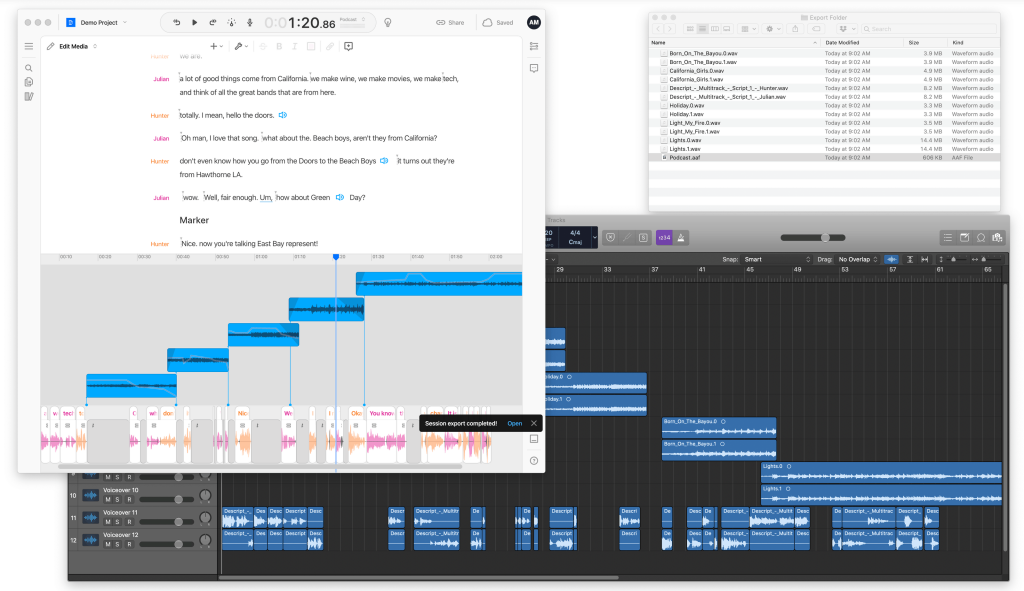
If you are working with video content, something like Descript can also help. It offers automatic background noise removal and voice enhancement features, which are useful for beginners who want quick results.
The key is this. Make sure your tool includes a feature called “Noise Reduction” or “Noise Removal.”
Step 2: Capture a Noise Profile
This step makes a big difference.
Most audio tools allow you to capture what is called a “noise profile.” This means you select a portion of the recording where only background noise is present. No talking. No music.
Here is how it usually works:
- Highlight a few seconds of pure background noise
- Click “Get Noise Profile”
- Select the entire audio file
- Apply noise reduction
The software then removes frequencies that match the noise profile.
This method works especially well for:
- Constant humming sounds
- Air conditioner noise
- Computer fan sounds
It may not work perfectly for sudden sounds like door slams or barking, but it handles steady noise very well.
Step 3: Adjust Noise Reduction Settings Carefully
This is where many beginners go wrong.
If you apply too much noise reduction, your voice can start sounding robotic or distorted. That is not what we want.
Instead:
- Start with low reduction levels
- Preview the result
- Increase gradually
Most tools let you adjust sensitivity, reduction amount, and smoothing. Move slowly. Your goal is to reduce noise, not destroy the natural tone of your voice.
According to audio editing best practices shared by platforms like Sound on Sound magazine, subtle adjustments usually produce the most natural results.
Take your time here. Small tweaks create better results.
Step 4: Use Equalization to Clean Up Low and High Frequencies
Sometimes background noise sits in specific frequency ranges.
For example:
- Low-frequency rumble under 80 Hz
- High-frequency hiss above 10 kHz
Using an equalizer, you can gently reduce these frequency bands.
Many audio editors include EQ tools. In Adobe Audition, you can use the Parametric Equalizer to cut unwanted low-end rumble. In Audacity, you can use the Filter Curve EQ.
This step helps polish your audio after noise reduction.
Step 5: Use AI-Powered Noise Removal Tools
If you do not want to manually adjust settings, AI-based tools can help.
Modern AI tools analyze voice and automatically separate it from background noise. This is especially helpful for:
- Podcast creators
- YouTubers
- Online teachers
- Remote workers
For example, if you are recording tutorials or training content, pairing clean audio with clear visuals recorded using tools like Camtasia can dramatically improve your final output quality.
AI tools are improving fast. Some can remove keyboard typing, echoes, and even background chatter in busy environments.
Still, always listen carefully before exporting the final file.
Step 6: Prevent Noise Before Recording
Editing helps, but prevention is always better.
Here are simple ways to reduce noise before recording:
- Record in a small room with soft furnishings
- Turn off fans and AC temporarily
- Close windows
- Use a pop filter
- Position the microphone close to your mouth
- Use a cardioid microphone
Even basic adjustments can reduce editing time later.
If you regularly produce content, investing in a decent microphone makes a huge difference. Clear input equals less cleanup work.
Removing Background Noise from Specific Types of Audio Files
Different recordings need slightly different handling.
Podcast Recordings
Podcasts often include subtle background hum. Noise profiling plus light compression works well here. Always monitor with headphones.
Video Audio
When editing videos, remove noise before adding background music. Clean dialogue makes everything else easier to mix.
Interview Recordings
If two people are recorded separately, clean each track individually. This prevents uneven noise levels.
Online Meeting Recordings
Remote recordings often include echo and room reflections. Noise reduction plus mild echo removal tools can improve clarity.
For team collaboration workflows, using structured project management tools like Asana helps keep editing tasks organized when multiple people handle audio production.
Common Mistakes to Avoid
Let’s quickly talk about what not to do.
- Do not overuse noise reduction
- Do not ignore clipping or distortion
- Do not export without checking with headphones
- Do not stack too many filters at once
Keep it simple.
Clean audio does not need heavy processing. It needs careful processing.
Quick Workflow Summary
If you want a simple checklist, follow this order:
- Capture noise profile
- Apply gentle noise reduction
- Use EQ to trim unwanted frequencies
- Apply light compression
- Normalize audio levels
- Export in high quality format
That is it.
You do not need a studio. You just need patience and the right steps.
Conclusion
Audio quality changes how people perceive your content. Clear sound builds trust. It keeps listeners engaged longer. And it makes your work feel professional.
If you have ever replayed your own recording and felt disappointed because of background noise, now you know it is fixable.
Start small. Clean one file. Test different settings. Learn how your voice reacts to editing.
Once you understand the basics, removing background noise from audio files becomes less intimidating and more routine.
And honestly, the first time you hear your cleaned audio play back clearly, it feels incredibly satisfying.


Leave a Comment