You know what kills a good social media strategy faster than anything else? Logging in every single day, staring at the blank post box, and trying to think of something clever on the spot. I’ve watched founders burn an hour a day doing this. An hour! That’s five hours a week you could spend on literally anything else, including sleeping.
Here’s the good news. You don’t have to work that way. Scheduling tools let you sit down once, batch out a week or a month of content, and walk away. The posts go out on their own, right on time, whether you’re in a client meeting, on a plane, or fast asleep. Let’s get into exactly how to set this up, and how to do it in a way that actually gets results, not just checks a box.
Why Automatic Scheduling Isn’t Optional Anymore
I get it. Some people feel weird about “automating” something as personal as their brand’s voice. But think about it this way: a chef doesn’t lose creativity by prepping ingredients in advance. They just stop wasting time chopping onions during the dinner rush.
The data backs this up too. According to a Sprout Social study on posting times, engagement on platforms like Instagram and Facebook consistently peaks during specific weekday windows, and posts published outside those windows simply get less traction, no matter how good the content is. That means timing isn’t a nice-to-have. It’s the difference between a post that gets seen and one that quietly dies in the feed.
And here’s the part most people miss. Algorithms don’t just reward good timing. They reward consistency. A recent breakdown of how Instagram’s algorithm works heading into 2026 points out something important: predictable publishing patterns and stable engagement across posts matter more than posting constantly. Accounts that publish less often but do it reliably tend to beat accounts that post daily with no real rhythm. Scheduling is how you build that rhythm without relying on willpower.
Step 1: Batch Your Content Before You Schedule Anything
Do not open your scheduling tool and start writing posts one at a time. That’s how people burn out and quit after two weeks.
Instead, block out ninety minutes, once a week or once a month, and write everything in one sitting. Here’s what that session should look like:
- Pull up your content calendar or a simple spreadsheet with your themes for the week
- Write five to ten post captions back to back, without stopping to perfect each one
- Pair each caption with an image, video, or graphic, even a rough placeholder
- Save the batch in a doc or straight into your scheduling tool as drafts
This one shift, batching instead of writing daily, is the single biggest time saver I’ve ever recommended to clients. Most people cut their social media time in half just by doing this.
Step 2: Pick a Tool That Matches How You Actually Work
Not every scheduling tool fits every workflow, and picking the wrong one is how people end up abandoning the whole system within a month. Here’s how I’d think about it.
If you’re managing a handful of channels and just want something clean and simple, Buffer is hard to beat. You queue up posts, set your times once, and it just runs. No bloat, no confusing dashboard, no learning curve that eats your afternoon.
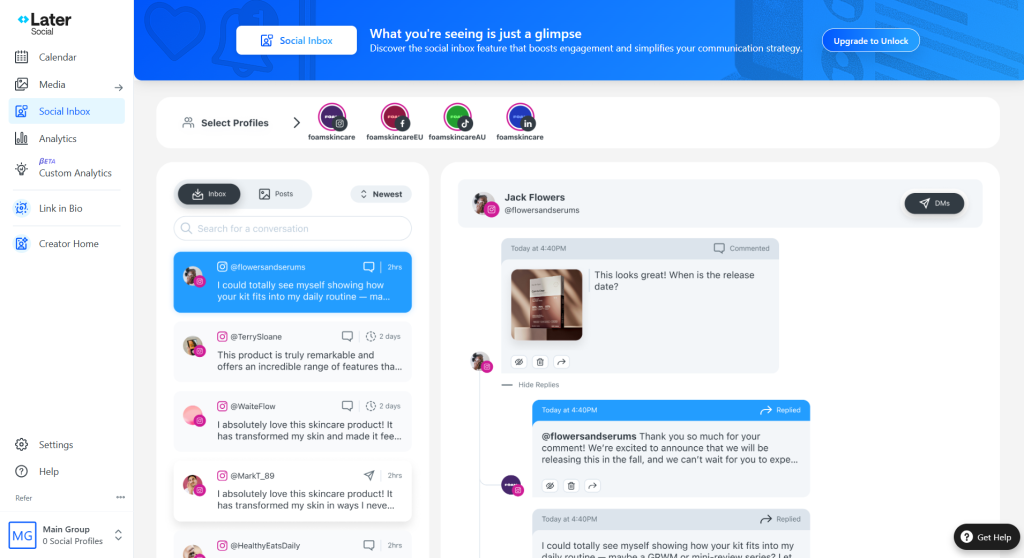
If your content is heavily visual, think Instagram grids, Stories, or Reels planning, Later is built specifically for that. You can literally drag and drop your feed into the order you want before anything goes live, which matters a lot if your brand’s visual consistency is part of the pitch.
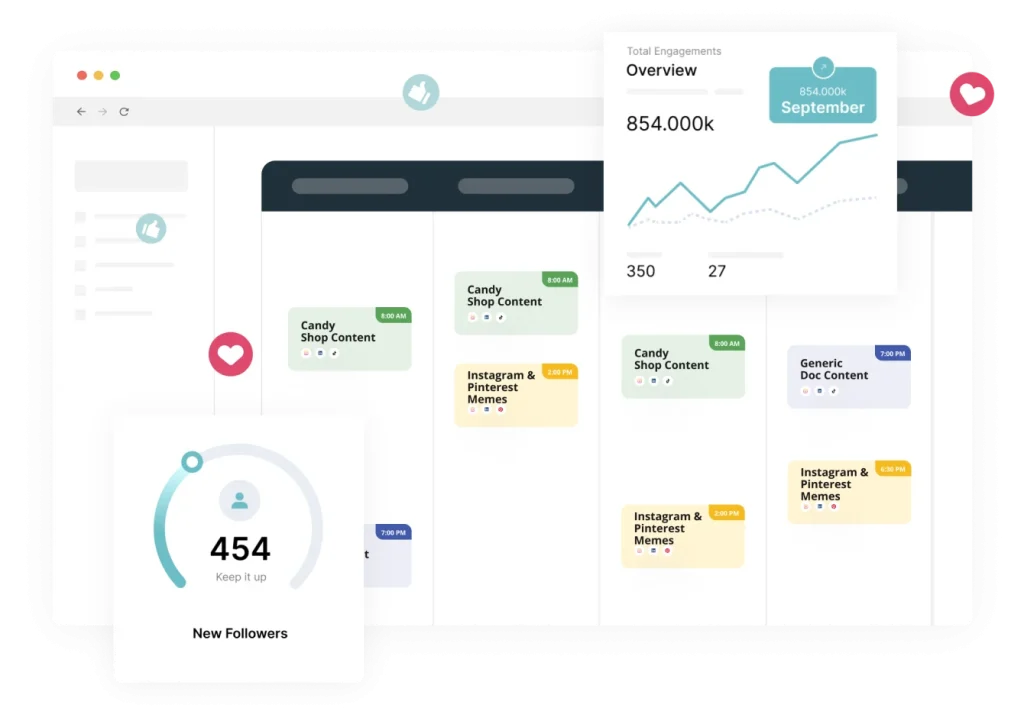
And if you’ve got a library of evergreen content, tips, quotes, product highlights, stuff that’s just as true six months from now as it is today, MeetEdgar will automatically recycle those posts on a schedule so you’re not reinventing the wheel every single week. This one’s a game-changer if you’ve ever thought “didn’t I already write this post?” because the answer is probably yes, and Edgar is fine with that.
Step 3: Set Your Times Based on Data, Not Guesswork
Once your content is ready and your tool is picked, don’t just eyeball the posting times. Use what’s already been studied.
Generally speaking, midweek mornings through early afternoon tend to outperform weekends across most platforms. Wednesdays especially show up again and again as a strong day in engagement research. Sundays, on the other hand, are consistently the weakest across nearly every network.
That said, here’s the honest truth: those general benchmarks are a starting point, not gospel. Your audience might behave completely differently. So here’s exactly what to do:
- Schedule your first month using the general benchmarks as a baseline
- Check your own analytics after two to three weeks
- Look specifically at which posts got engagement fastest after going live
- Shift your schedule to match your actual audience’s habits, not the industry average
Your data will always beat someone else’s benchmark eventually. Use the research to get started, then let your own numbers take over.
Step 3.5: Don’t Fall Into the “Set It and Forget It Forever” Trap
I need to call this out because it trips up so many people. Scheduling is not the same as ignoring your channels. I’ve seen brands set up three months of posts, walk away completely, and then wonder why engagement quietly tanked by week six.
Here’s what happens. A product changes. A promotion ends. Something in the news makes an old post look tone-deaf. If you’re not checking in, a scheduled post can go out at exactly the wrong moment, and now you’re doing damage control instead of enjoying your time back.
The fix is simple. Do a five-minute Sunday check of what’s queued for the coming week. That’s it. Five minutes buys you the confidence to actually walk away the rest of the time, which is the entire point of scheduling in the first place.
Step 4: Build In Room for Real-Time Posts Too
Automatic scheduling doesn’t mean you never post live again. That would actually hurt you. If something happens in your industry, a trend, a news moment, a viral conversation, you want to be able to jump in without messing up your queue.
Most tools, including the ones I mentioned above, let you drop in a live post alongside your scheduled queue without any conflict. Just build this into your habit: check your scheduled queue quickly each morning, and if something timely is worth commenting on, add it in. Your scheduled posts keep running in the background either way.
This is also where a lot of brands get nervous about automation, and honestly, that nervousness is healthy. It keeps you from becoming the account that’s still auto-posting a discount code during a moment that clearly calls for something more thoughtful. Automation should handle the routine stuff so you have more energy, not less, for the moments that genuinely need a human touch.
Step 5: Design Once, Reuse Everywhere
Here’s a mistake I see constantly. People create a brand new graphic for every single post, from scratch, every time. That’s exhausting, and it’s also unnecessary.
Build a small set of templates instead. One for quotes, one for tips, one for announcements. Once you have a system, dropping new content into an existing design takes minutes, not hours. If you want a full walkthrough on setting this up properly, check out our guide on how to design social media graphics, which covers exactly how to build templates that hold up across dozens of posts without looking repetitive.
The Real Payoff
Let’s talk about what actually changes once you have this running. You stop thinking about social media as a daily chore. You stop that nagging feeling of “did I post today?” You get your evenings back. And ironically, your content usually gets better, because you’re writing it during a focused batch session instead of scrambling five minutes before you meant to post something.
I’ve seen brands go from posting inconsistently, three times one week, zero the next, to a steady, predictable cadence within a month of setting up scheduling properly. And predictable is exactly what both your audience and the algorithm reward.
So here’s your actual next step. Pick one tool from the ones above. Block ninety minutes this week. Batch out your next two weeks of content. Schedule it using the timing data as your starting point. Then go live your life while your content quietly does its job in the background. That’s the whole system, and it works.
Wrap Up
Quick list before you go, because these are the things I learned the hard way.
- Double check time zones before your first big batch. Nothing stings like realizing your “9am” posts went out at 4am because the tool defaulted to a different zone.
- Preview every post before it queues up. Autocorrect and copy-paste errors love to hide in scheduled captions, and you won’t catch them until they’re already live.
- Leave a few open slots in your calendar for spontaneity. A fully scheduled month with zero flexibility can start to feel stiff. Leave room to be a little human.
- Revisit your evergreen library every few months. Old stats, old prices, old team photos, all of it needs a refresh eventually, even if the post itself still performs well.



Leave a Comment