We’ve all been there. You finish recording a podcast episode, a voiceover, or a demo track. You export it. Then, you stare in horror at the file size. Three hundred megabytes.
Sending that over email is out of the question. Even uploading it to your hosting platform feels like it’s taking years. You know you need to compress it, but the moment you do, the quality tanks. Suddenly, your professional-sounding recording sounds like you recorded it inside a tin can underwater. It’s brutal.
The good news is that you don’t have to choose between a massive file size and terrible audio. The trick is getting that file size down while keeping the audio clean enough that your listeners won’t notice a thing. You just need to know how the compression process works and use the right tools for the job. Let’s skip the fluff and look at how to get your audio files down to a manageable size without sacrificing your sound.
Lossy vs. Lossless: The Great Audio Debate
Before we look at the tools, we need to talk about the two main ways to compress audio. It comes down to how much data you are willing to throw away.
First, there is lossless compression. It’s basically like stuffing a suitcase. You roll up your shirts and pack everything super tight, but when you get there and unpack, you still have all your clothes. Lossless formats (like FLAC or ALAC) squeeze the file down by half, but the underlying data stays completely untouched. When you hit play, it sounds exactly like the uncompressed master.
Then, there is lossy compression. This is more like tossing out the heavy boots you probably won’t wear to make the bag lighter. Lossy formats (like MP3 or AAC) shrink files by aggressively shaving off frequencies most people can’t even pick up anyway. We’re talking about super high frequencies or tiny quiet sounds that get buried right after a loud drum hit. This can shrink your file size by up to 90%.
Here’s the thing: if you compress a lossy file too much, the audio starts to sound flat and distorted. The secret is finding the sweet spot where the file is small, but the audio still sounds clean.
4 Great Tools to Compress Your Audio (and How to Use Them)
You don’t need to be a sound engineer to compress your files. These four platforms handle the heavy lifting for you, whether you want a quick automated fix or complete manual control.
1. Auphonic: The One-Click Automation Saver
If you want to compress your files without spending twenty minutes tweaking settings, Auphonic is fantastic. It runs entirely in your browser and caters to creators who just want their tracks polished without learning the ins and outs of audio engineering.
Instead of manual adjustments, you drop your file in, and their backend engine automatically cleans up the volume spikes, filters out background hum, and compresses the track all in one go.

2. Audacity: The Open-Source Powerhouse
If you prefer to keep everything offline and don’t want to pay a cent, Audacity is the industry standard. It is a completely free, open-source editor that works on Windows, Mac, and Linux.
Audacity gives you two ways to compress: you can use the built-in compressor effect to even out the volume, or you can simply export your audio using a lower bitrate to shrink the file size.

To compress the dynamic range (the difference between your loudest and quietest sounds), select your audio track, go to the “Effect” menu, and choose “Compressor.” Tweak the threshold slider and play with the ratio until the loud spikes get smoothed out and everything sits at a comfortable level.

Once your audio is edited, go to “File,” then “Export Audio.” To keep the size down, choose MP3 as your format. Set the bitrate mode to “Constant” and the quality to 128 kbps or 192 kbps. This simple export tweak will slash your file size by a massive margin.

3. Ocenaudio: Clean, Simple, and Fast
Audacity is a workhorse, but let’s be honest—the layout looks like Windows 98. It can feel a bit clunky if you just want a quick edit. If you want something cleaner and more modern without the learning curve, Ocenaudio is a great choice.
It is a lightweight editor that response quickly and doesn’t hog your computer’s memory. It is perfect for quick edits and fast exports.
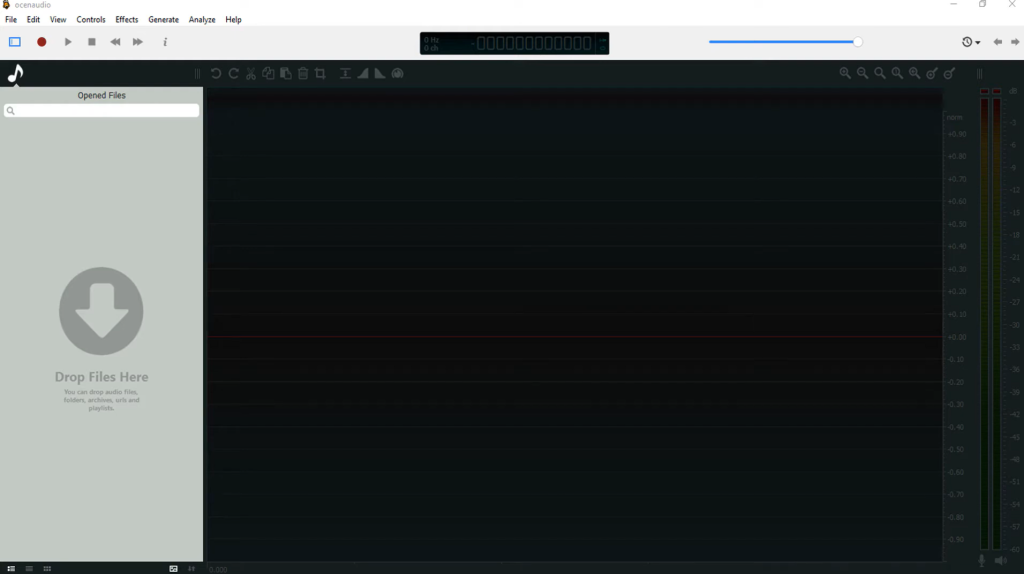
Ocenaudio makes it easy to apply compression effects. You can open the “Effects” menu, select “Amplitude,” and click on “Compressor.” The real-time preview lets you hear how your compression settings affect the audio before you apply them.
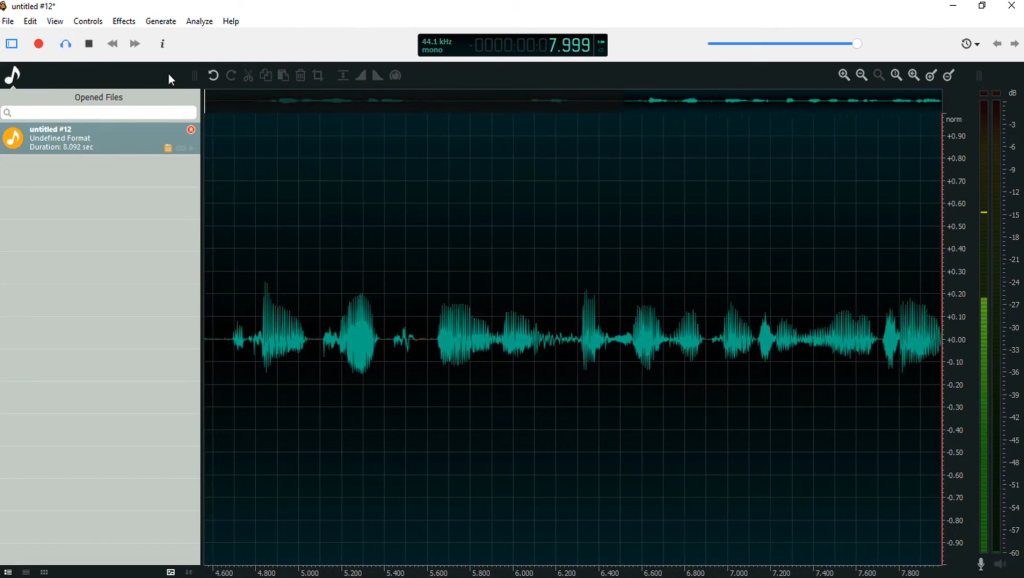
When you are ready to save, go to “File” and choose “Export.” Ocenaudio gives you a simple slider to adjust the quality and bitrate of your MP3 or AAC file. Drop it down to 192 kbps for clean stereo audio that doesn’t waste space.
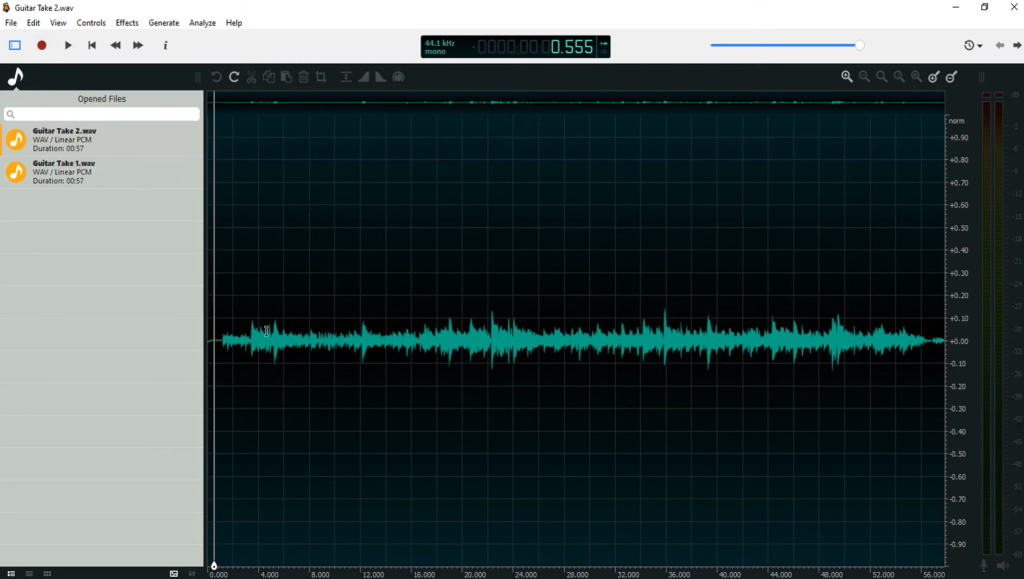
4. Adobe Audition: The Professional Choice
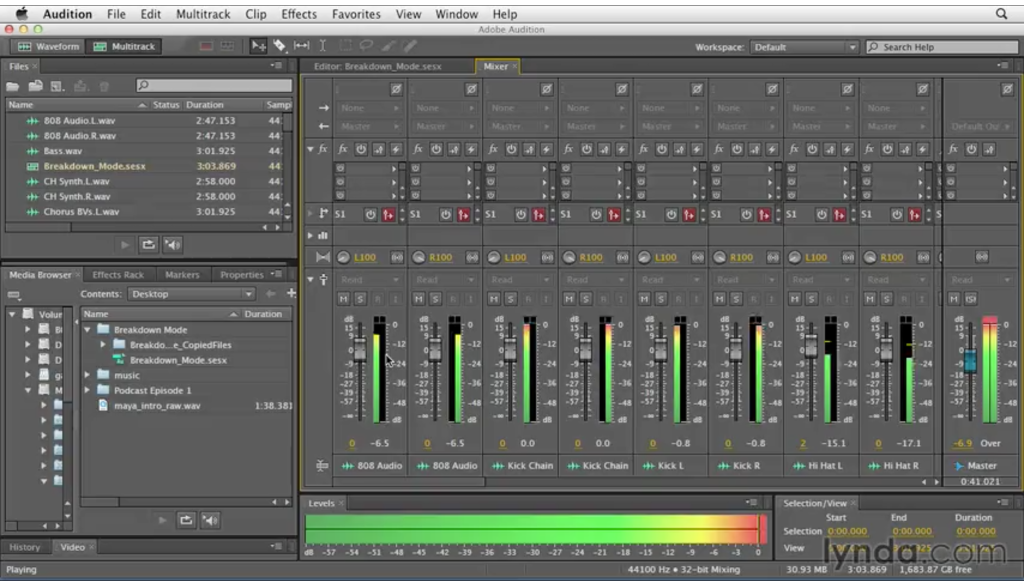
For those who are already paying for the Creative Cloud suite, Adobe Audition is the premium option. It gives you surgical precision over your wave files, plus their rendering engine does a brilliant job of keeping the high-end clarity intact even when you export to a lower-quality format.
It’s geared toward heavy-duty, commercial production pipelines, so it’s a solid choice if you need to meet exact broadcast specs.
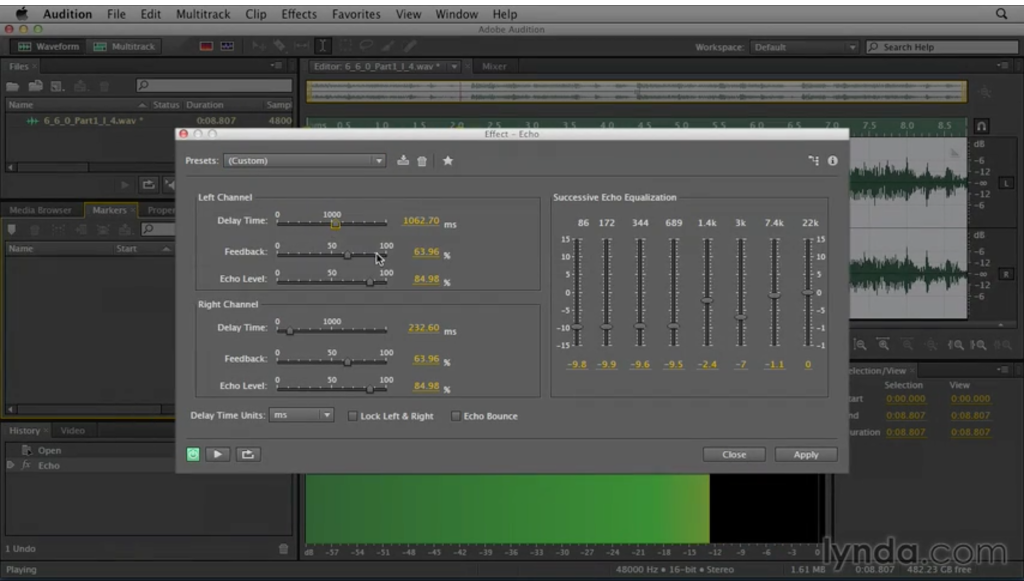
To compress audio in Audition, open the “Effects” menu, go to “Amplitude and Compression,” and select “Multiband Compressor.” This tool lets you compress different frequencies independently—like keeping the bass frequencies steady while letting the vocals breathe.

When exporting your project, Audition gives you deep control over your format settings. Go to “File,” click “Export,” and select “File.” Choose MP3, click “Format Settings,” and set your bitrate. Audition’s encoders are top-tier, meaning a 128 kbps MP3 exported from Audition will often sound noticeably cleaner than one made with cheaper tools.
3 Simple Rules to Compress Without Ruining Your Sound
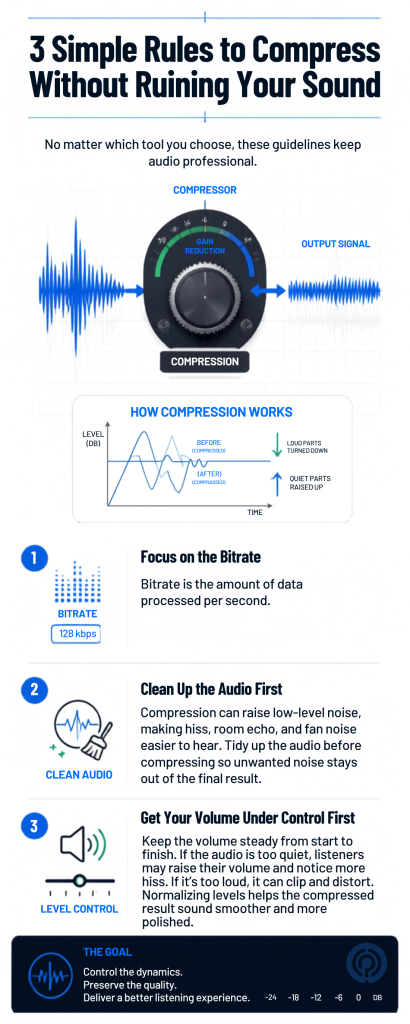
No matter which tool you choose, these three guidelines will keep your audio sounding professional:
1. Focus on the Bitrate
The bitrate is the amount of data processed per second. If you’re just exporting vocal tracks, 128 kbps mono is generally where you want to land. It’s light, clear, and won’t eat up your bandwidth. For music, you’ll want to stay at 192 kbps or higher to preserve the detail in the instruments. Anything lower than 96 kbps will start to sound muddy.
2. Clean Up the Audio First
Compression makes the quiet parts of your recording louder. That means if you have background hiss, room echo, or computer fan noise in your track, compression will pull those noises forward and make them obvious.
Always clean your audio before you compress. Take a look at this guide on how to remove background noise from audio files to get your tracks clean first. Once the background noise is gone, you can apply compression without bringing up the garbage.
3. Get Your Volume Under Control First
Make sure your track doesn’t jump all over the place before you finalize it. You don’t want your listeners constantly tweaking their volume dial. If your audio is too quiet, users will turn their headphones up, which makes the background hiss louder. If it’s too loud, it will clip and distort.
Using tools to normalize audio levels for consistency ensures your listener doesn’t have to keep adjusting their volume. It makes the final compressed file sound much more cohesive and professional.
Let’s Wrap Things Up
Look, at the end of the day, you don’t need a high-end studio setup or a three-hundred-dollar subscription to get clean audio files. It’s about understanding the limits of your file formats and picking a tool that fits your daily workflow.
If you want speed, go with an automated tool like Auphonic. If you want complete control, open up Audacity or Audition. Stick to the right bitrates, clean your tracks before you compress, and you will get files that upload quickly while sounding great in your listeners’ headphones. Start simple, test your settings, and let the software handle the heavy lifting.



Leave a Comment