Let’s be completely honest: we’ve all been there. You record a long, great podcast episode, only to realize there is a massive, painfully awkward stretch of dead silence right in the middle. Or maybe you have a collection of short voice memos, sound effects, or music clips that you desperately need to stitch together into one continuous track. This kind of audio clean-up comes up constantly, and knowing how to chop up and weld audio files will save you an incredible amount of time and frustration.
The absolute best part about this? You do not need to drop hundreds of dollars on premium workstation software or go get a degree in studio engineering. Free, highly accessible tools make this process incredibly simple once you look past the initial technical intimidation. This guide breaks down the actual mechanics of how to get it done cleanly.
Why slicing and stitching actually matters
Splitting audio simply means taking a single, continuous audio track and chopping it into smaller, isolated pieces. This is your go-to move when you need to slice out embarrassing speaking mistakes, separate individual songs from a massive live concert recording, or isolate a perfect soundbite.
Merging audio is exactly the opposite. You are taking separate audio files and welding them together end-to-end. It is the exact process you use for assembling continuous mixtapes, stitching together separate interview segments for a podcast, or piling your raw field notes into a single archive file.
Mastering both basic moves gives you complete creative control. Instead of just settling for whatever rough take your microphone captured, you get to sculpt the final runtime exactly how you want.
Choosing your workbench tools
When it comes to picking your toolkit, you generally have two main paths to choose from: downloading free, dedicated desktop software or processing everything directly inside your web browser using cloud utilities.
The desktop heavyweight: Audacity
Audacity is the completely free, open-source audio workstation that practically everyone uses. It runs seamlessly across Windows, macOS, and Linux platforms. While the interface looks a bit retro, it handles complex multi-track splitting and merging completely locally on your machine without needing an internet connection. People rely on it because it doesn’t throttle your file sizes or hide features behind a paywall.
The browser alternative: Online utilities
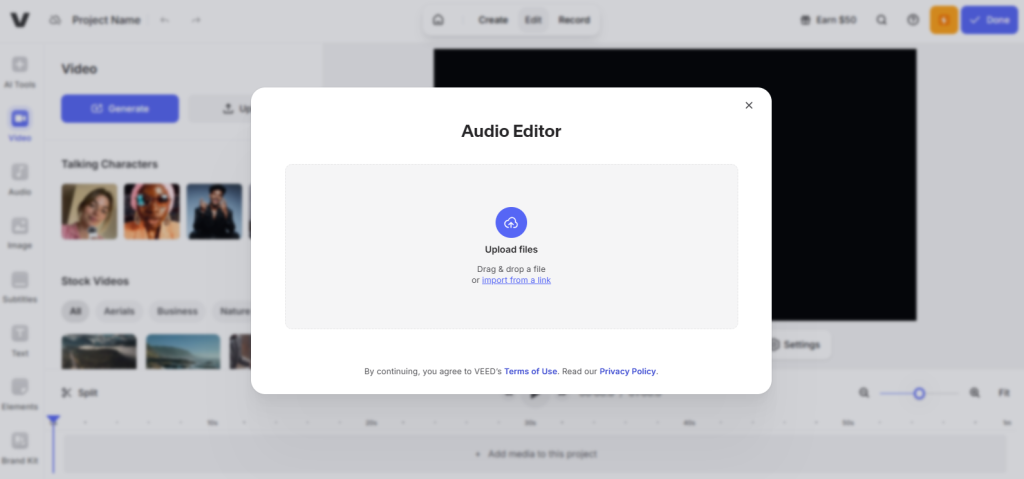
Cloud platforms are perfect when you just need to merge a couple of simple tracks on the fly and don’t want to mess with installations. Services like VEED.IO allow you to drop in your files, drag them into a basic timeline arrangement, and export the combined track within a few minutes. It’s fast and frictionless, though you are at the mercy of your internet upload speeds.
How to split audio files accurately
Splitting an audio clip is essentially identical to cutting a piece of rope. You find the exact timestamp where you want the break to happen, mark your spot, and make the snip.
The precise approach using Audacity
First, download the current installer directly from the official Audacity website to make sure you are running a secure version. Once you open the application, drag and drop your raw audio file right into the main workspace window. You will see a blue visual representation of your sound waves—this is your waveform. High peaks are loud noises, and flat lines are silence.
To slice the track cleanly, follow these actual steps:
- Use the selection tool to click on the exact point on the blue waveform where you want to make your cut.
- Instead of digging through deep, confusing menus, just press Ctrl + I on Windows (or Cmd + I on Mac). You can also find this by going to Edit > Clip Boundaries > Split.
- You will see a thin vertical line appear, showing that your single track is now divided into independent, movable clips.
- If you want to delete an awkward pause or a mistake, simply click the unwanted clip segment to highlight it and hit the Delete key on your keyboard.
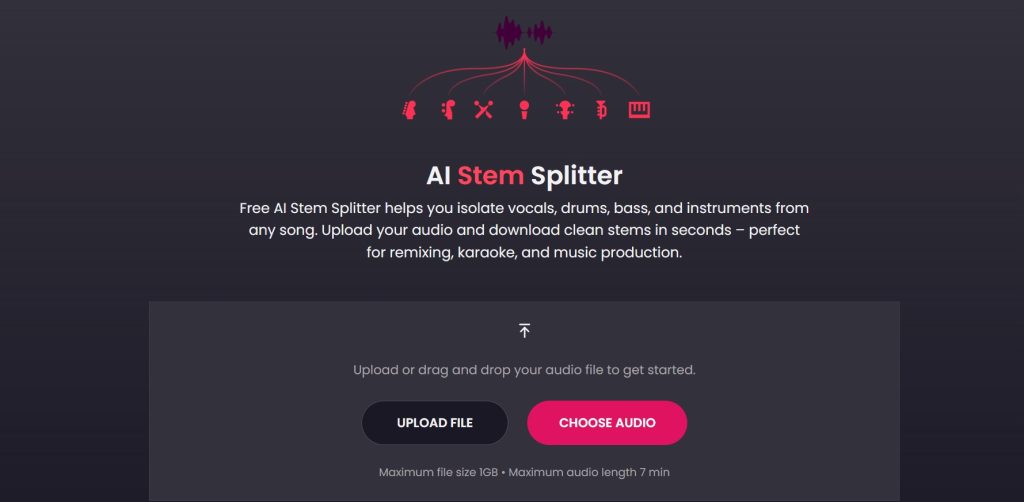
If your goal is to slice a massive multi-hour recording into separate standalone files, you can use labels. Click your desired split point, hit Ctrl + B to drop a label marker, and type in a track name. When you are finished marking your sections, go to File > Export > Export Multiple to save every labeled section as a unique audio file automatically.
The quick online alternative
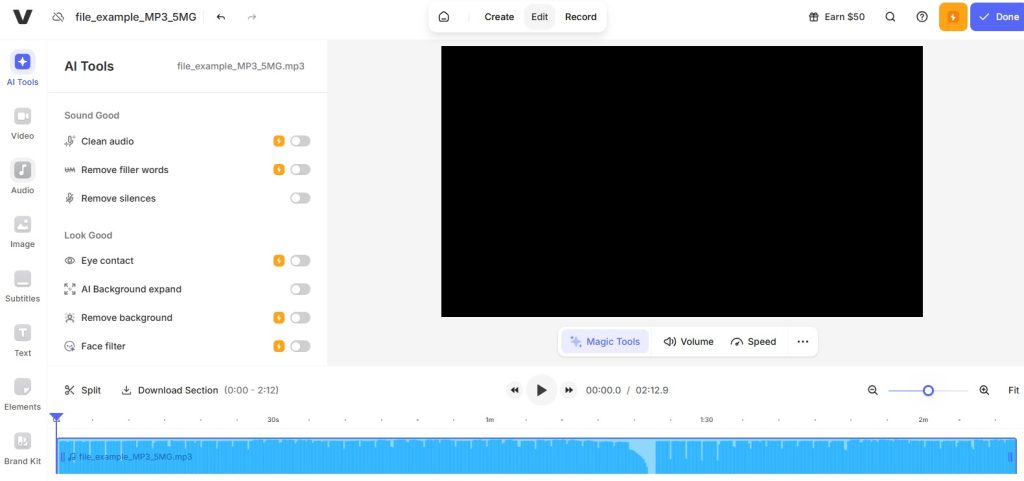
If you’re away from your primary computer, you can use an online cloud editor like VEED.IO. You just upload your file to their web interface, drag the playhead cursor along the horizontal editing timeline to locate the spot where you stumbled, and click the Split button. You can repeat this process as many times as necessary, delete the bad chunks, and download the polished output.
How to merge multiple tracks together
Merging is the absolute inverse of the cutting process. You are taking different blocks of audio and arranging them sequentially so they play back as a single file.
Arranging tracks end-to-end in Audacity
To combine files, go to File > Import > Audio and select all the clips you want to bring together. Audacity will import them by stacking them on top of each other as separate horizontal tracks. If you hit play right now, they will all blast through your speakers at the exact same time, creating absolute sonic chaos.
To fix this, you need to stagger them out: In older versions of the software, you had to switch to a dedicated Time Shift Tool. In modern versions of Audacity, you don’t need to do that anymore. Simply hover your cursor over the top title bar of any audio clip block until it turns into a hand icon, then click and drag the entire block horizontally to the right.
Line up the start of your second clip exactly with the tail end of your first clip. The software will display a yellow vertical snap line to tell you when they are perfectly aligned without any dead air or overlap. Once you have your tracks laid out sequentially from top to bottom like a staircase, go to File > Export Audio, choose your format, and hit export. The software will automatically flatten all those distinct rows into one continuous master file.
Using browser-based joiners
For an absolute light-speed option, free cloud tools like FreeTTS or Audio Joiner let you skip the timeline entirely. You simply upload your target files simultaneously, drag the file blocks up and down a list to establish the playing order, and hit the merge button. Audio Joiner even features a quick toggle to add automatic crossfades between the clips, which is incredibly handy if you’re trying to blend the transition smoothly between two distinct background tracks.
Technical adjustments you shouldn’t skip
- Match your export formats to the target destination: If you are exporting content for a web platform, a podcast host, or general sharing, use the MP3 format because the files are compressed and highly portable. If you are editing raw musical tracks or archiving voice work that needs the absolute highest fidelity, export as a WAV file to prevent any loss of data.
- Balance the perceived loudness before exporting: There is nothing more jarring for a listener than a track where the intro music blasts their eardrums out, followed immediately by an interview track that is so quiet they have to max out their volume knob. Scan through your clips and use the volume gain sliders on the left side of each track panel to make sure they match visually and audibly.
- Give your cuts some breathing room: When you are slicing out dead air or mistakes, never cut right up against the first syllable of a word. Leave a tiny, fraction-of-a-second cushion of natural room tone at the start and end of your clips. Cutting too close creates an unnatural, robotic effect that signals a sloppy edit.
- Keep your project organization clean: If you are processing dozens of smaller assets, stop leaving them named as random strings of numbers or default exports. Create an organized naming system like
Podcast_Ep2_Intro_V1orInterview_Segment_02. It takes an extra ten seconds, but it saves hours of hunting through files later.
Common mistakes that ruin audio quality
Over-compressing the final file
When you export your finished product, pay attention to your bitrate settings. Squeezing a file down to a tiny size destroys the audio fidelity, making everything sound like it was recorded underwater. For standard spoken word or podcast tracks, a 128 kbps MP3 format is perfectly fine. If you are handling music or complex sound design, push that setting up to 192 kbps or higher to maintain clarity.
Missing hidden gaps in the timeline
When you drag clips around manually on a timeline, it is incredibly easy to leave an accidental, microscopic gap between two blocks. This results in a weird, random drop into absolute silence during playback. Always zoom all the way into your transition points to make sure your clip edges are completely flush against each other.
Accidentally collapsing stereo files into mono
Always check your export parameters before rendering your file. If your source files were recorded in stereo (with distinct left and right channels), accidentally exporting the final master in mono will completely flatten the soundstage, making your mix feel incredibly narrow and crowded.
Choosing your workflow path
If you plan on doing any kind of regular audio production—like managing a weekly audio show, editing corporate voiceovers, or scoring video projects—invest the half-hour it takes to get comfortable with Audacity. Having full offline control and advanced editing tools pays massive dividends over time.
On the other flip of the coin, if you are just trying to combine two voice memos into a single file for a one-off assignment, save your hard drive space and let an online app like VEED.IO or FreeTTS do the heavy lifting in seconds.
Wrapping things up
Manipulating audio files isn’t a complex math problem once you strip away the confusing jargon. Whether you use a desktop workstation for deep control or a cloud utility for sheer speed, the underlying workflow never changes: you bring your raw files into the system, arrange their placement chronologically along a timeline, and render the output.
The easiest way to get comfortable with this is to record a quick, messy two-minute test file on your phone. Drop it into your editor of choice, chop it into three separate blocks, rearrange the middle and end pieces, and export the result. Once you run through that cycle once manually, handling large, professional audio projects will feel like absolute second nature. Keep your layouts organized, pay attention to your volume levels, and go make something that sounds incredible.
do it again, use an online tool like FreeTTS or VEED.IO. It’s faster and you don’t clutter your computer with software you’ll never use.
For quick splits on the go, online tools are handy. For precise editing and regular use, Audacity wins every time.



Leave a Comment