Let’s be completely honest with each other for a second. When was the last time you manually plugged in an external hard drive, dragged your important folders over, waited twenty minutes, and properly ejected it?
If you’re like most people, you did it once when you bought a new computer three years ago. Or maybe you promised yourself you would do it every Sunday night, and that lasted about two weeks until life got busy.
Here is the cold, hard reality: manual backups do not work. They rely on human memory and willpower, and both of those fail eventually. One dropped laptop, one spilled iced coffee across your keyboard, or one nasty piece of ransomware, and years of family photos, tax records, client deliverables, and business spreadsheets vanish into thin air.
The only backup system that actually protects you is one you never have to think about. That means setting up automated cloud backups that run silently in the background while you work, eat, sleep, and live your life.
Here is the step-by-step game plan to set this up today so you never have to worry about data disasters again!
How the 3-2-1 Backup Strategy Keeps You Safe
Before picking a service, it helps to understand why IT pros rely on a time-tested strategy called the 3-2-1 approach.
Cybersecurity pros and groups like the Cybersecurity and Infrastructure Security Agency (CISA) treat this simple framework as gospel because it guarantees you never rely on just one basket for all your eggs:
- Keep 3 total copies of anything important: Your original working document on your laptop, plus two separate backup versions.
- Use 2 different types of storage: Don’t put both copies on identical thumb drives. Keep one on your machine’s built-in SSD and another on a portable external drive.
- Have 1 copy stored somewhere far away in the cloud: If a burst water pipe or power surge wipes out everything sitting on your desk, your remote cloud version sits safe and sound in a secure offsite facility.
Automated cloud backups solve that crucial offsite requirement automatically. Even if lightning strikes your building and fries every surge protector in the room, your data lives securely in remote data centers.
Cloud Sync vs. Cloud Backup: The Huge Difference Most People Miss
A lot of folks tell me, “Oh, I already have backups — I use cloud folders!”
Hold on! There is a massive, dangerous difference between cloud sync and true cloud backup, and confusing them causes devastating data loss every single day.
Cloud sync tools replicate a specific folder across your devices. When you save a file in that folder, it updates on your other laptop and phone. But here is the catch: if you accidentally delete a file, save over a presentation with blank slides, or get infected by ransomware that encrypts your files, the sync tool immediately copies that deletion or corruption to the cloud too! Some sync tools have basic 30-day trash recovery, but they are designed for collaboration and quick access, not long-term disaster recovery.
True cloud backup tools, on the other hand, take continuous or scheduled snapshots of your entire system or designated directories. They operate as a historical archive with version history. If you accidentally delete a folder, overwrite a document, or suffer a ransomware lockout, you can roll back the clock to 2:00 PM yesterday or three weeks ago and restore clean, uncorrupted files.
For complete peace of mind, you want automated cloud backup running alongside whatever everyday sync tools you already use.
Step-by-Step Guide to Setting Up Automated Cloud Backups
Getting automated cloud backups running takes less than thirty minutes from start to finish. Here is the exact game plan to follow.
Step 1: Audit What Actually Needs Backing Up
Think about what would genuinely hurt to lose. Most of your hard drive is easily replaceable software and cache, but your real files usually fall into three camps:
First, your livelihood files. Think client contracts, tax PDFs, bookkeeping sheets, and active work folders that keep your business afloat.
Second, family photos and home videos. Years of holiday trips, kids growing up, and personal milestones that you simply cannot download again from the web.
Third, your working shortcuts. Saved browser logins, license keys, and essential configuration files on your desktop.
You generally do not need to upload operating system system files or re-downloadable software installers — those just eat up upload bandwidth and storage space. Focus your backup priority on your irreplaceable files and working directories.
Step 2: Pick the Best Cloud Tool for How You Work
Different apps shine depending on whether you’re backing up a single MacBook or managing five family devices. Here are four standout cloud services that take care of everything automatically.
Backblaze — Set It and Forget It Unlimited Computer Backup
If you want the simplest, most bulletproof backup experience possible for a Mac or Windows PC, Backblaze is the undisputed champion of simplicity.
You install the lightweight app, create your account, and let it run. Backblaze automatically scans your entire computer, finds all your documents, photos, music, and movies, and begins quietly uploading them to secure data centers. There are no tricky file size limits, no confusing folder selection menus to configure, and unlimited storage per computer for a predictable annual fee.
Backblaze runs continuously in the background, throttling its upload speed when you are actively using your machine so your video calls and Netflix streaming never stutter. If your laptop gets stolen or your SSD dies, you can download your files via the web, or Backblaze will physically ship you an encrypted hard drive loaded with your restored data anywhere in the world.
IDrive — Multi-Device Backup for Computers, Phones, and Tablets
If you have a household or small business with multiple laptops, smartphones, tablets, and external hard drives, IDrive gives you unmatched flexibility under a single account.
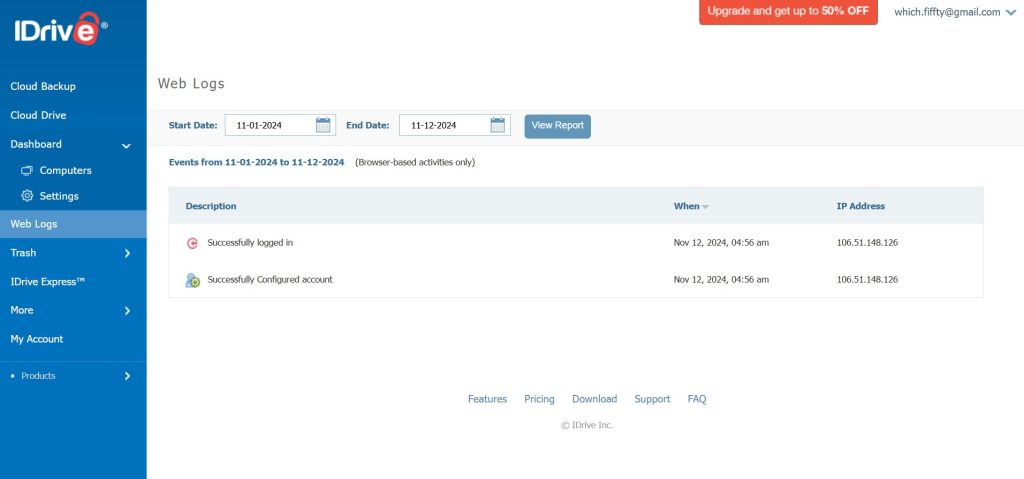
Unlike services that tie your license to one computer, IDrive lets you back up unlimited devices into a single storage bucket. You can install the desktop client on your office PC and personal laptop, while running the mobile app on your iPhone and Android tablet to back up mobile photos, contacts, and text messages automatically whenever you connect to Wi-Fi.
IDrive also features hybrid backup capabilities: you can configure it to back up locally to an external hard drive for instant, high-speed restores while simultaneously pushing encrypted snapshots to the cloud for offsite safety. That gives you the best of both worlds with zero manual effort.
Dropbox — Automated Folder Backup and Smart Version Control
While primarily famous as a collaboration and sync hub, Dropbox includes a dedicated automated computer backup feature that bridges the gap between active syncing and background protection.
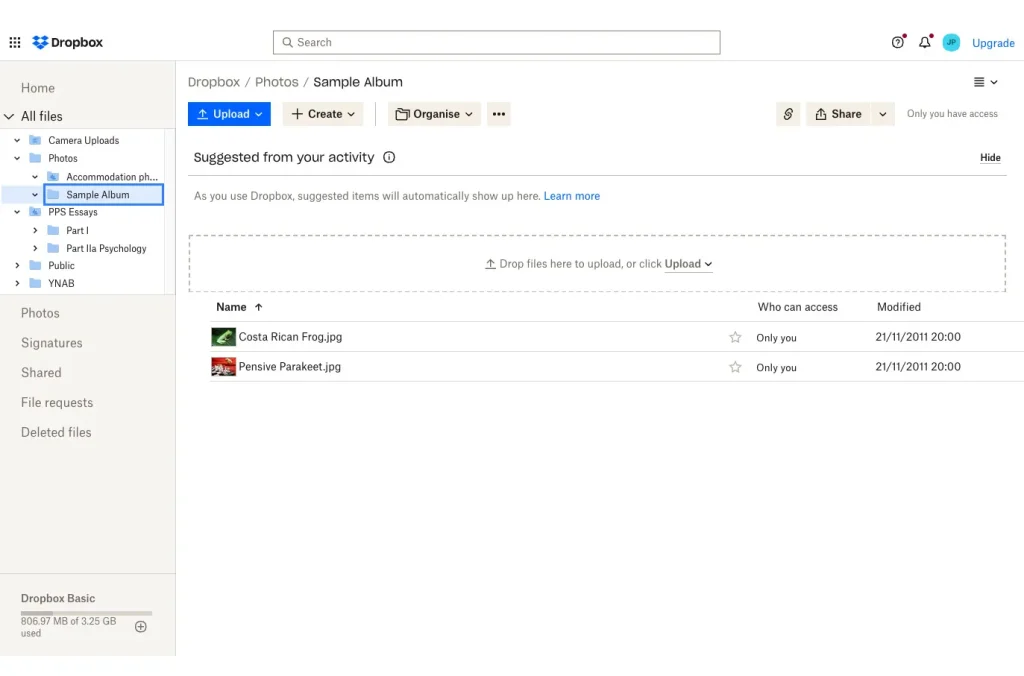
With Dropbox Backup enabled, the desktop client continuously mirrors your key default operating system folders — Desktop, Documents, and Downloads — straight to the cloud. When you save a new design file on your desktop or download a client agreement, it backs up instantly without you needing to manually move it into a special shared folder.
If your computer crashes, you can restore those standard folders onto a brand-new machine with a single click. Furthermore, Dropbox provides extended version history and account rewind tools, letting you undo accidental batch deletions or roll back malicious file encryptions across your entire account.
Google Drive — Automated Desktop Sync and Cloud Storage Integration
For individuals and teams already immersed in Google Workspace, Google Drive offers an accessible, lightweight automated backup mechanism through its desktop utility.

The Drive desktop client allows you to designate specific local folders outside the standard cloud drive — such as local project repositories, media folders, or document archives — for automatic background upload. You can choose whether files mirror locally or stream on-demand to conserve disk space.
Because Google storage integrates seamlessly across Gmail, Photos, and Docs, automated folder uploads ensure your everyday work files remain accessible from any browser on any device. It serves as a practical, low-barrier first line of defense for freelancers and solopreneurs looking to protect everyday documents.
Step 3: Dial In Your Backup Times and Speed Settings
Once your app is installed, spend two minutes tweaking these key settings so it runs quietly in the background without hogging your internet:
- Backup frequency: Turn on “Continuous” or “Real-Time” tracking. Whenever you hit save on a client draft, your app immediately queues the new version for upload. If your home connection is slow during the day, tell the app to run its heavy sweeps at 2:00 AM while you’re asleep.
- Speed throttle limits: Cap background upload speeds during regular office hours (like 9 to 5) so you never get choppy video on Zoom calls. Let the app unleash full upload speeds during the night.
- Sleep & battery rules: Make sure your laptop doesn’t go into a deep hibernate mode while finishing that massive first-time initial upload. You can also tell the app to pause uploads whenever you’re running on battery power at a coffee shop.
Step 4: Lock Down Your Files With Private Encryption Keys
Since your backup archive holds your most personal documents—tax forms, medical history, bank records, and private emails—locking the front door is non-negotiable.
Always enable two-factor authentication (2FA) on your backup account using an authenticator app.
Additionally, look for the option to set a Private Encryption Key (often called zero-knowledge encryption). When you enable a private key, your files are encrypted locally on your computer before they ever travel over the internet. Only you hold the password key to decrypt them. Even if a rogue employee at the cloud provider or a government subpoena demands your data, nobody can read your files without your private passphrase.
Just remember: if you lose your private encryption passphrase, nobody can reset it for you! Store that recovery key safely in a reputable password manager.
Step 5: Test Your Recovery Process (The Step Everyone Skips!)
Here is an uncomfortable truth: a backup you have never tested is not a real backup. It is just a wish.
According to survey data compiled by World Backup Day, nearly 30% of people have never performed a single backup, and a substantial percentage of those who do have never attempted a test restore.
Every three to six months, do a quick fire drill:
- Log into your cloud backup web portal from a different device.
- Select a random folder containing multiple document types.
- Download and restore those files to a test folder.
- Open the files and verify that formatting, images, and data integrity remain 100% intact.
Knowing with certainty that you can recover your files in ten minutes turns a potential data disaster from a panic attack into a minor inconvenience.
Conclusion
Losing critical files is never a question of if — it is always a question of when. Hardware breaks, hard drives wear out, laptops get stolen, and coffee spills happen to the best of us.
Setting up automated cloud backups is the single most valuable gift you can give your future self. Pick a reliable tool, configure it to run quietly in the background, turn on private encryption, and let technology do the heavy lifting. You will sleep much better at night knowing your digital life is completely safe.


Leave a Comment