If you’ve ever submitted a podcast to a streaming platform and gotten it rejected, or sent audio to a client who said it sounds “off,” you’ve run into audio quality standards without knowing it. Here’s the thing—every platform and broadcast network has specific numbers your audio needs to hit. And once you understand what those numbers actually mean, fixing your audio gets a lot less mysterious.
This isn’t about being a sound engineer. It’s about knowing the basics so your work sounds professional and passes wherever you’re sending it.
The Numbers That Actually Matter
Loudness (LUFS)
The most important number in modern audio is LUFS—Loudness Units relative to Full Scale. It’s the standard the entire streaming and broadcast industry uses to measure how loud your content sounds to a human ear, not just how loud the waveform peaks.
Here’s why it matters. Streaming platforms normalize all audio to the same loudness level. If you submit audio that’s too loud, they turn it down. If it’s too quiet, they might turn it up—but they might also just leave it quieter than everything else on the platform, which makes you sound unprofessional.
The targets you need to know:
- Spotify, Apple Music, YouTube: around -14 LUFS integrated
- Podcast platforms: most fall between -16 and -19 LUFS
- Broadcast TV (EBU R 128 standard in Europe, ATSC A/85 in the US): -23 LUFS integrated
The EBU R 128 standard is the definitive reference for broadcast loudness normalization if you’re working in that space. It’s the foundation most streaming loudness targets are based on.
True Peak (dBTP)
True peak is the actual maximum level your audio reaches, measured at a higher resolution than standard peak metering. The industry standard for most platforms is -1 dBTP or lower. Go above that and you risk clipping after encoding, which introduces distortion that wasn’t there in your original file. This happens because audio codecs like AAC and MP3 can actually create inter-sample peaks during the encoding process that push past 0 dB even if your raw file looks clean.
So even if your waveform shows no red, check true peak before you export.
Signal-to-Noise Ratio (SNR)
SNR measures how much actual signal you have compared to background noise. A higher number is better. For voice recordings, you want at least 60 dB SNR for acceptable quality—anything above 70 dB is considered broadcast-ready. If your room is noisy, your SNR drops, and no amount of EQ or compression is going to fully fix a bad recording.
This is one number that’s decided at the recording stage, not the editing stage.
Frequency Range and Response
Professional voice audio typically covers 80 Hz to 16 kHz for speech. Music production targets 20 Hz to 20 kHz (the full range of human hearing). The Audio Engineering Society (AES) publishes standards that cover frequency response requirements for different production contexts, including mastering, broadcast, and post-production.
Here’s what you actually do with an EQ: cut everything below 80 Hz on voice tracks to kill low room hum. If someone sounds harsh or nasal, dip around 2 to 4 kHz. And if you need extra clarity, add a tiny bump around 5 kHz.
Dynamic Range
This is just the gap between your quietest whisper and your loudest yell. For spoken word and podcasts, aim for a dynamic range around 6 to 10 dB. That keeps things natural without forcing your listener to constantly adjust their volume knob in the car. Music mastering targets vary more by genre, but most commercial releases aim for integrated loudness that keeps the dynamic range from getting too squashed.
Over-compression kills dynamic range and makes audio feel fatiguing. Under-compression makes volume inconsistent. Finding the right middle ground is most of what audio mastering is actually about.
File Format Standards
What format you export to matters as much as how you process the audio.
- WAV or AIFF: uncompressed, no quality loss, large files. Use this for masters, client deliverables, and anything you’ll process further.
- FLAC: lossless compression. Smaller than WAV, same audio quality. Good for archiving.
- MP3 at 256 kbps or higher: the standard for podcasts. If you drop below 192 kbps, people on decent earbuds will hear the mushy compression right away.
- AAC at 256 kbps: what Apple platforms love. It usually sounds cleaner than an MP3 at the exact same file size.
Don’t export to MP3, add effects, then re-export to MP3 again. Every lossy compression step degrades quality. Export your processed audio from the source file, not from a previous compressed export.
Common Mistakes That Kill Audio Quality
Most bad-sounding audio doesn’t come from broken gear. It comes from a handful of avoidable mistakes that happen consistently.
- Recording in an untreated room. Bare walls, hard floors, and no acoustic treatment create room reflections that make voice recordings sound hollow and boxy. You don’t need a studio—a closet full of clothes, foam panels, or even recording under a thick blanket dramatically improves the raw recording. Once reverb is baked into a recording, it’s very hard to remove completely.
- Setting input gain too high. If you record hot because you think louder is better, you end up with clipped audio that can’t be recovered in editing. Record at a comfortable level where your peaks stay around -12 dB on the meter. That gives you enough headroom to process without distortion.
- Skipping normalization before export. A lot of creators edit audio, it sounds fine on their headphones, and they export without checking loudness. Then it lands on Spotify and it’s either too quiet or gets turned down so aggressively it loses punch. Normalizing to target LUFS takes about thirty seconds in any modern tool. Do it every time.
- Using noise reduction too aggressively. Noise reduction removes background noise, but turn it up too high and it starts chewing into the audio you actually want—creating metallic artifacts and a hollow, unnatural sound. Light, consistent noise reduction almost always sounds better than one heavy pass.
- Re-compressing already compressed files. If you export as MP3, open that file in another editor, make changes, and export as MP3 again, you’ve compressed the audio twice. Each pass degrades quality. Always edit from your original uncompressed WAV or AIFF files and only compress once at the final export stage.
Tools That Help You Hit These Standards
Audacity — Best Free Option for Standard Quality Checks
Audacity is free, cross-platform, and handles most of what you need for checking and meeting audio quality standards—noise reduction, normalization, basic peak metering. The built-in analyzer lets you check frequency response and spot problem areas without paying for anything.

The loudness normalization plugin handles LUFS targeting directly. It’s not a professional mastering suite, but for podcasters and voice-over work, it covers the main bases. The catch is you’ll need to install plugins separately for things like true peak limiting, and the workflow isn’t as streamlined as paid tools.
Auphonic — Best for Automated Loudness and Noise Correction
Auphonic is built specifically for this problem. Upload audio, tell it your target platform (podcast, YouTube, broadcast), and it automatically corrects loudness to the right LUFS target, reduces background noise, balances levels between speakers, and exports in whatever format you specify.

It’s not a full editor—it’s a finishing tool. But for podcast producers who want their files to hit -16 LUFS, pass true peak checks, and sound consistent across episodes without spending an hour in a DAW every time, Auphonic is the most efficient path to standard-compliant audio. There’s a free tier with limited monthly hours.
iZotope RX — Best for Serious Repair and Quality Control
iZotope RX is what broadcast engineers and post-production houses use to fix audio that would otherwise be unusable. It handles noise reduction at a level that free tools can’t match, removes clicks, clipping, reverb, and background noise with surgical precision, and includes a loudness meter that checks LUFS, true peak, and dynamic range in one view.
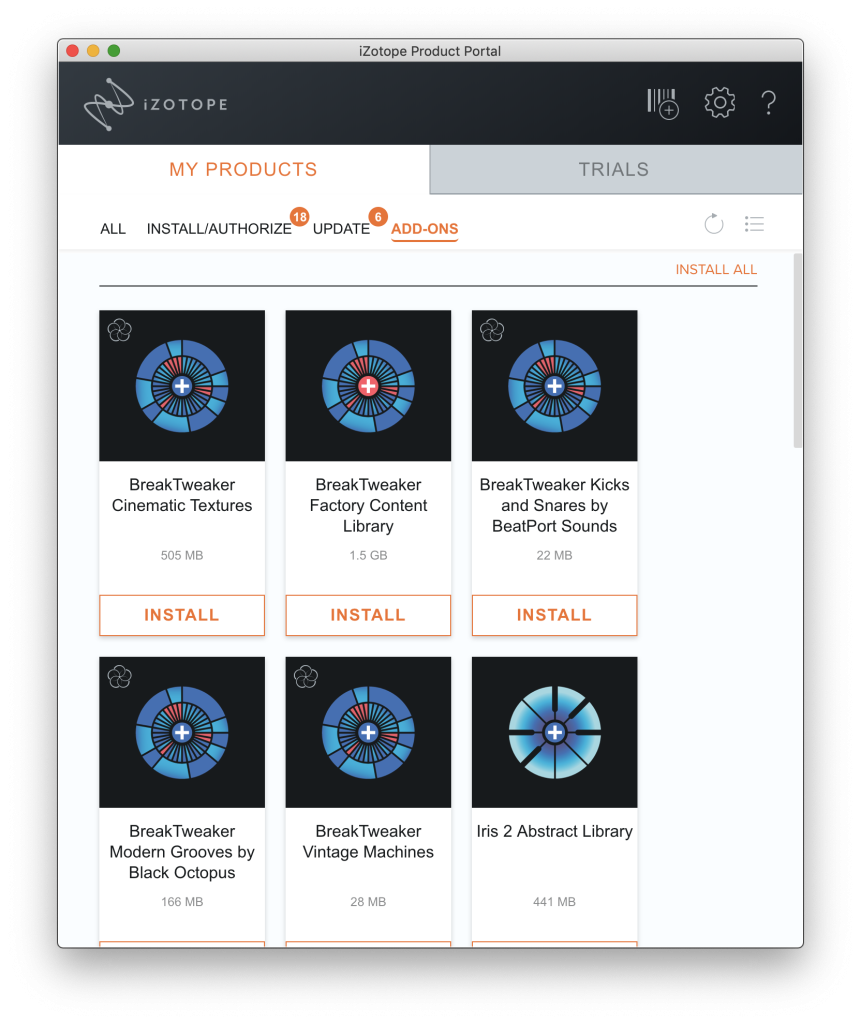
If you’re working with dialogue for film, TV, or any professional video production, this is the industry-standard repair tool. It’s expensive, but it’s also the last resort when a recording is genuinely damaged and everything else has failed.
Descript — Best for Podcast and Video Producers Editing by Text
Descript doesn’t replace a traditional DAW for quality control, but it includes Studio Sound—an AI noise removal layer that handles room noise and background sounds reasonably well for spoken word content. For producers who edit by transcript rather than waveform, it removes the friction of bouncing audio to a separate tool for basic cleanup before final export.
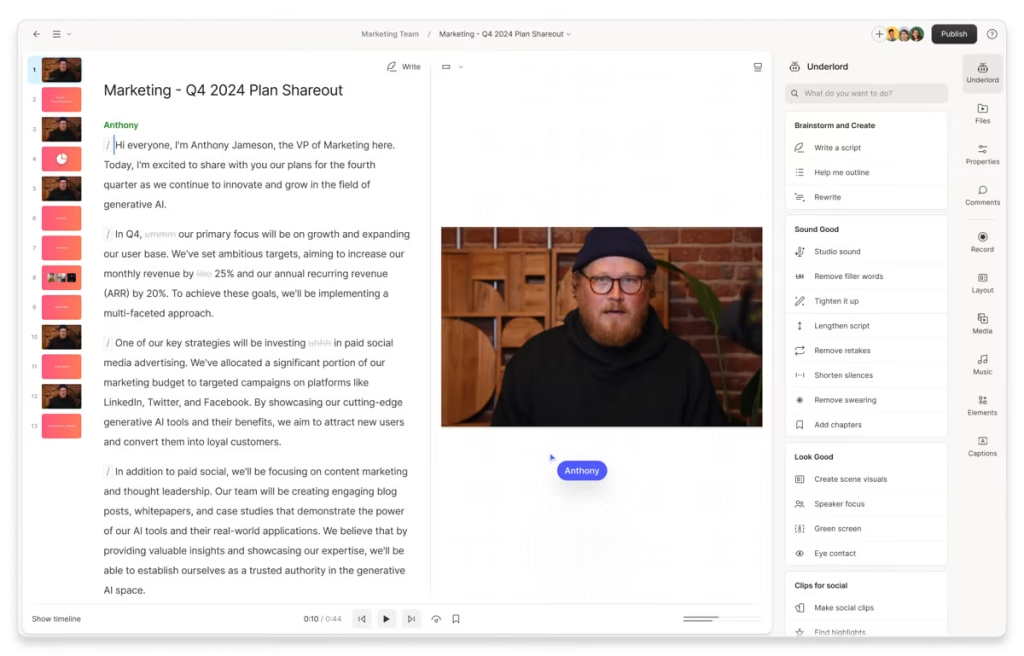
The loudness export targets are limited compared to dedicated tools, so for anything where LUFS precision matters, export from Descript and run it through Auphonic or a dedicated limiter before final delivery.
The Checklist Before You Export
Before you send audio anywhere, run through this:
- LUFS integrated: hit the target for your platform—podcast at -16 to -19, streaming at -14, broadcast at -23
- True peak: at or below -1 dBTP. Check this in your metering tool, not just by looking at the waveform
- Background noise: inaudible during quiet passages. If you can hear your air conditioner, your listener can too
- No clipping: no red in your meters on playback. Even one clipped sample creates a click
- Frequency roll-off below 80 Hz: for voice recordings. Low-end rumble wastes headroom and makes everything muddier
- Format and bitrate: WAV or AIFF for masters, MP3 at 256 kbps or AAC at 256 kbps for delivery
- Listen on earbuds AND speakers: problems invisible on studio monitors show up immediately on cheap earbuds. If it sounds good on both, you’re done
- Check mono compatibility: if your audio is stereo, collapse it to mono and listen. If something disappears or sounds weird, you have a phase issue that will cause problems on some playback systems
Conclusion
Audio quality standards aren’t gatekeeping—they’re just the shared rules that make sure your content sounds the same everywhere it plays. Hit the LUFS target, watch your true peak, keep your noise floor low, and export in the right format. That’s most of it.
The tools exist to make this faster once you know what you’re aiming for. Pick the one that fits where your workflow is right now and build from there.



Leave a Comment